Metal roofing is an excellent choice for homeowners looking to add durability, longevity, and style to their homes. It is a long-term investment that requires careful installation to ensure its maximum performance. In this article, we will discuss how to install metal roofing and provide tips to make the process more manageable.
Step 1: Measure and order your metal roofing
Before starting the installation process, you need to measure your roof and order the appropriate amount of metal roofing panels. Start by measuring the length and width of your roof, including any overhangs. Then, use these measurements to calculate the total square footage of your roof. Add an additional 10% to this total to account for any waste or mistakes. Once you have the total square footage, you can order your metal roofing panels from a reputable supplier.
Step 2: Prepare the roof surface
Before installing the metal roofing panels, you need to prepare the roof surface by removing any existing shingles, nails, or debris. Inspect the roof deck for any damage, and repair any issues before proceeding with the installation. It’s also crucial to ensure that your roof has proper ventilation to prevent any moisture buildup that could cause damage.
Step 3: Install underlayment
To provide additional protection from the elements and increase the energy efficiency of your home, install a layer of underlayment over the roof deck. There are several types of underlayment to choose from, including synthetic and felt materials. Follow the manufacturer’s instructions for installation and ensure that the underlayment is properly secured.
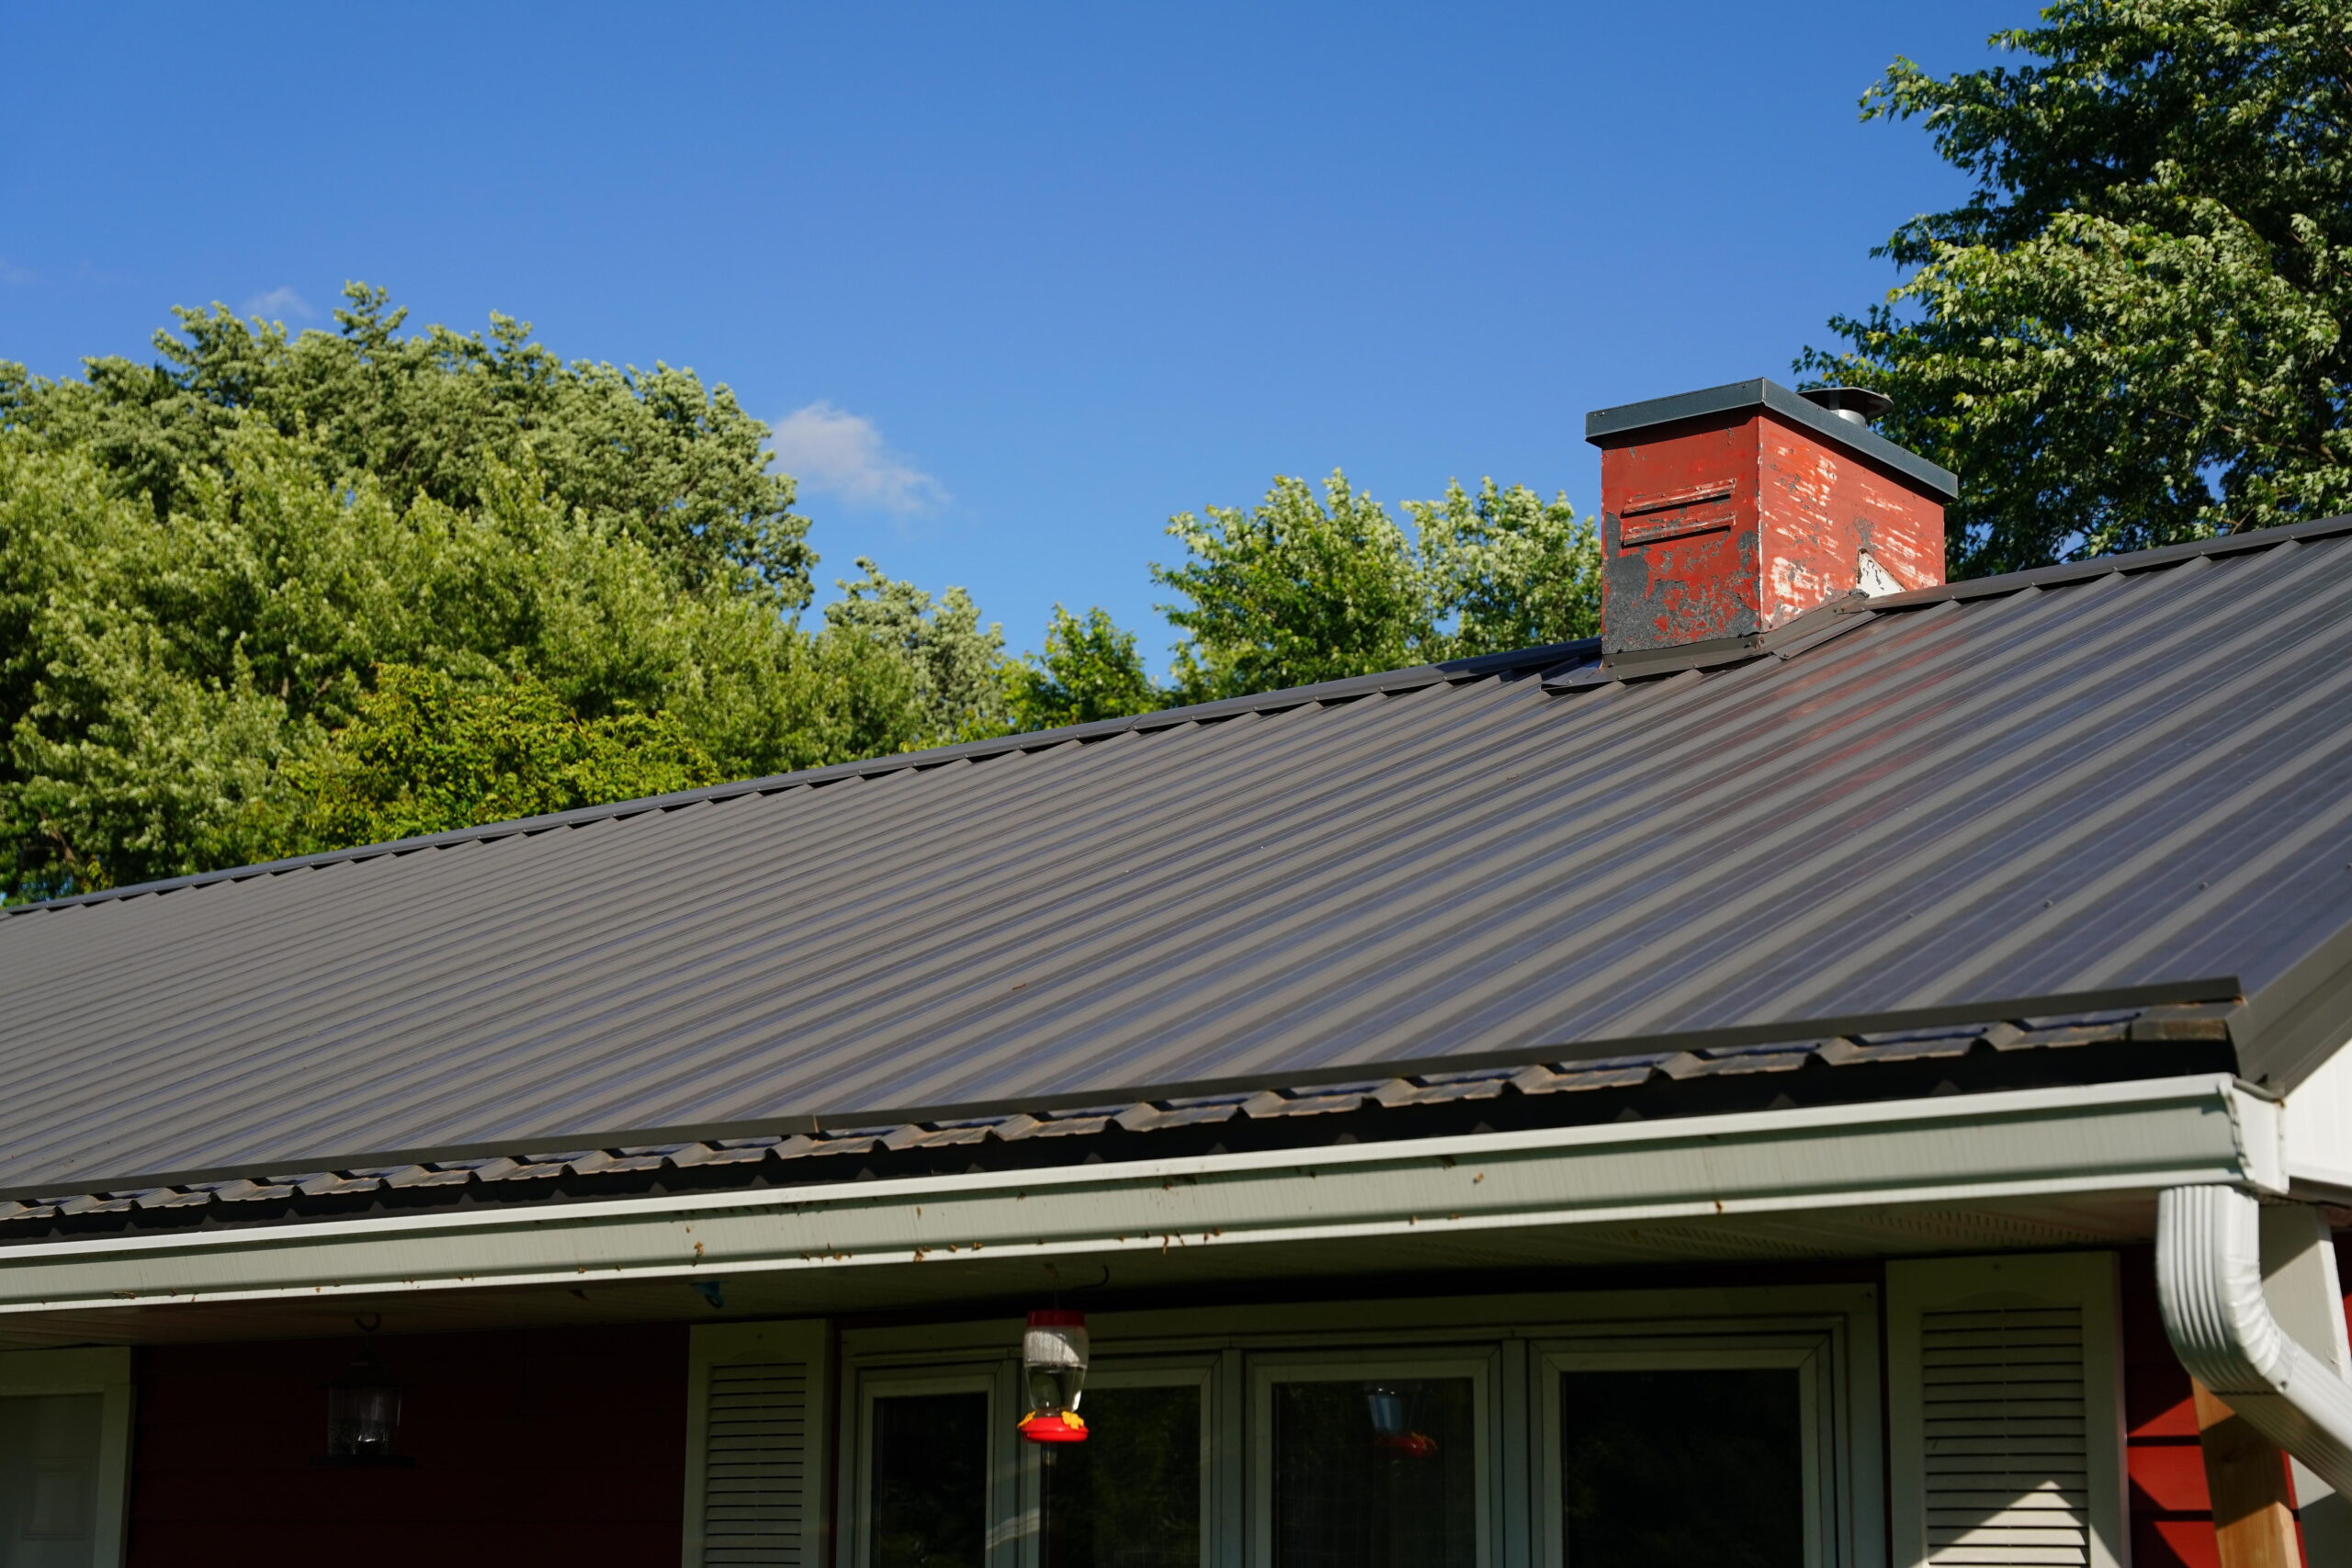
Step 4: Install metal roofing panels
Start by installing the metal roofing panels at the eaves of your roof. Place the panels so that they overhang the roof edge by about 1 inch. Secure the panels in place using roofing screws, making sure to leave a small gap between each panel to allow for expansion and contraction. Continue installing the panels in rows, overlapping each panel by about 6 inches. Once you reach the ridge of your roof, install the ridge cap to cover the seam between the two sides of the roof.
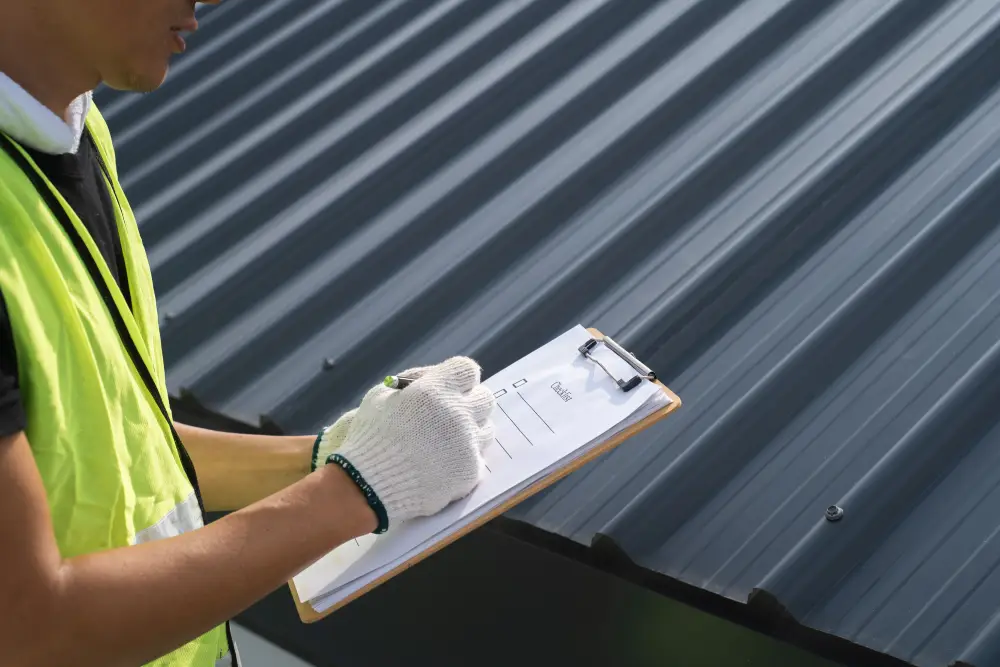
Step 5: Finish the installation
Once all the panels are installed, inspect the roof for any loose screws or panels. Make sure that all the panels are properly aligned and that there are no gaps or buckles in the metal. Trim any excess metal at the roof edge using a metal cutting blade.
Contact A Roofing Company in Corpus Christ, TX
Installing metal roofing can be a challenging and time-consuming process. If you live in the Corpus Christi area and need help installing your metal roof, contact Philips Roofing. We have the skills, tools, and experience to ensure that your metal roofing installation is done correctly and efficiently. Don’t risk damaging your home or wasting time and money on a DIY installation. Call a professional today!